Chances are the electrical outlets in your home are pretty much the same as they have been for decades. This means two vertical outlets and a U-shaped slot for grounding, providing you with a U.S. standard 125 volts and 15 to 20 amps of power to charge your devices. In most cases, the old wall outlet provides you with all the convenience you need. After all, whenever you need to power a lamp, charge your phone, or provide electricity to anything else, you can just plug it right in.
However, as we gain more and more devices such as phones and tablets, there is one big upgrade we can make to the old outlet that can increase convenience and remove a few of those bulky chargers from your walls. This is switching out your old outlets with outlets containing built-in USB chargers. Read on to learn how you can handle this upgrade.
Installing a USB Outlet in 7 Steps
- Choose an Outlet and Location: The first step to installing a USB outlet is to select a new outlet that suits your needs and the appropriate safety standards for your jurisdiction. You will then need to make sure that the junction box for the outlet you have chosen is large enough to handle the additional electronics and wiring required for USB outlets. Generally, this will require a junction box with about three inches of depth.
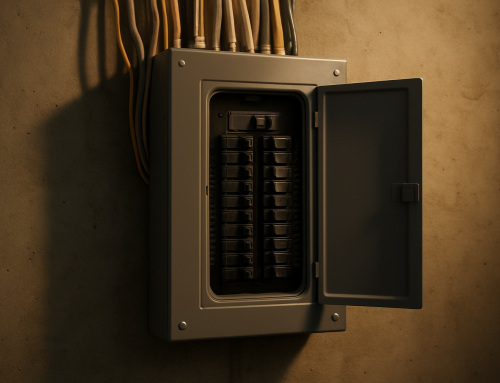
- Turn Off the Power: Before beginning the installation process, ensure that the circuit breaker for the outlet is turned off. If you have any doubts about which circuit breaker is the correct one, then turn off the electricity for the whole home by shutting off the main breaker.
- Test the Outlet: With the power shut off, test the existing socket with a voltage tester to ensure that the power is, in fact, off. This can be a lifesaving step, so do not skip it! If the power is off, then you can continue.
- Remove the Old Outlet: Unscrew the faceplate and then the screws holding the outlet in place. Next, take a picture of the wiring to use as a reference when you install your new outlet. You should see a black wire which stands for hot, a white wire which is neutral, and either a copper or green wire, which is the grounding wire.
- Disconnect Wiring: Using your screwdriver, unscrew the wires from the old outlet, or if the outlet is using quick-release clamps, use your screwdriver to activate the release button. Once released, gently remove them from the outlet.
- Connect the New Outlet: Take your new outlet and identify each terminal. Next, securely attach each wire to the appropriate terminal. If needed, compare your picture of the old terminal for reference. Once finished, attach the outlet to the junction box and affix the faceplate.
- Restore Power and Test the Outlet: At your electrical panel, restore power to the circuit. Once the power is on, use your voltage tester to check if the outlet is working properly. If it is, go ahead and check if the USB outlets are working correctly by attaching a USB-powered device.
As you can see, installing a new USB outlet is not all that difficult. With some caution and a few basic tools, any homeowner can get the job done. However, if you are not confident working with electricity, do not hesitate to contact a licensed electrician for assistance.
Contact Us
For professional electrical help from a licensed and experienced electrician, contact Clark Electric. We are ready and waiting to help you with all of your electrical needs. Call us at (844) 431-8050 and connect with us on Facebook and LinkedIn.